Models
The Models section of the Workspace within NaviGator Chat is a powerful tool that allows you to create and manage custom models tailored to specific purposes.
Model Creation
To create a model navigate to Workspace > Models and click on the '+ New Model' button on the far upper-right of your screen. This will pull up the following interface:
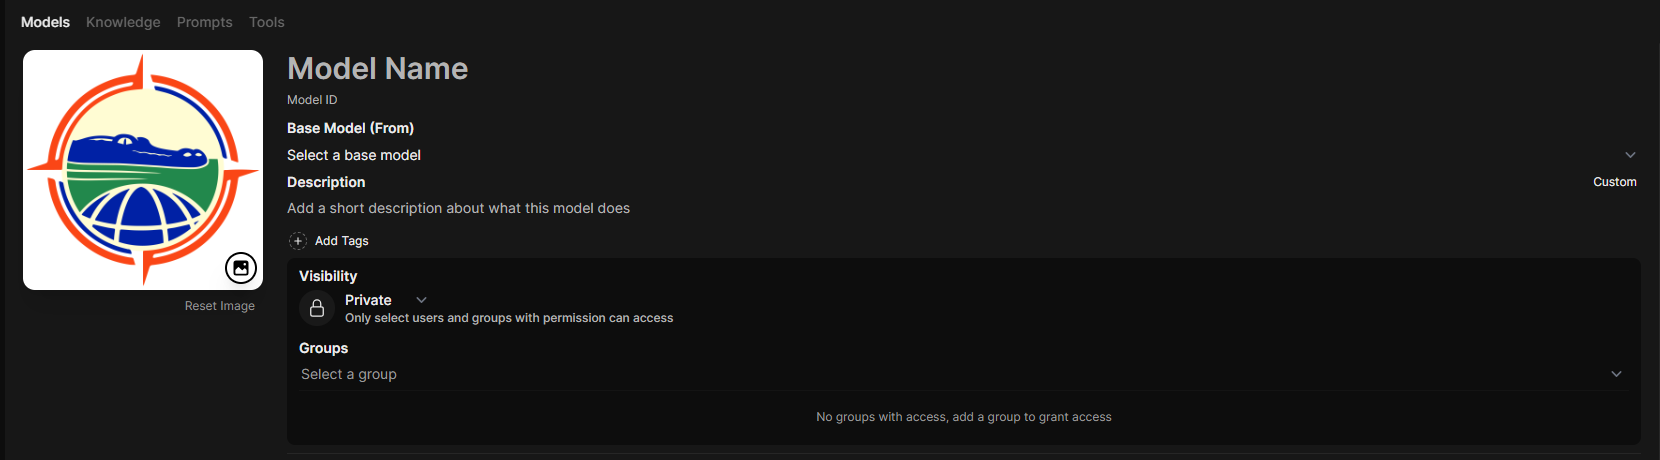
You can then input the following:
- Base Model: The LLM that will power your model's responses.
- Add Tags: A tag will be displayed beside the model name in the model selector dropdown (this dropdown exists in the chat interface).
- Visability & Groups: Private models can only be seen by the user who created the model or the users within a group that the model is apart of. Public models can be seen by everyone using NaviGator Chat.
- System Prompt: A set of upfront instructions given to an LLM to define its role, behavior, and operational parameters, acting as its 'personality' or 'rulebook' for the entire conversation.
- Advanced Parameters: Configure your model by setting it's unique parameter values.
- Prompt suggestions: Add prompts that will be displayed on a fresh new chat page.
- Knowledge: Connect your model to a knowledge base and ask questions about it via the chat interface.
System Prompt & Dyanmic Variables
The System Prompt defines the behavior and persona of the model. Unlike standard prompts, Open WebUI supports Dynamic Variable Injection using Jinja2-style placeholders. This allows the model to be aware of time, date, and user details.
| Variable | Description | Output Example |
|---|---|---|
| {{CURRENT_DATE}} | Injects today's date (YYYY-MM-DD). | 2024-10-27 |
| {{CURRENT_TIME}} | Injects the current time (24hr). | 14:30:05 |
| {{USER_NAME}} | The display name of the logged-in user. | Admin |
Example System Prompt:
You are a helpful assistant for {{ USER_NAME}}.
The current date is {{ CURRENT_DATE }}.
Model Management
From the Models section, you can perform the following actions on your model (click on the model's ellipses):

- Edit: Dive into the details of your model and make changes to its character and more.
- Clone: Create a copy of a model, which will be appended with (Clone) to the cloned model's name. Note that you cannot clone a base model; you must create a model first before cloning it.
- Export: Download the model's .json export to your PC.
- Delete: Permanently delete your model.
- Hide Model: Toggle this switch to hide/show your model as a drop-down option in the chat interface.
- Copy Link: Copies a direct URL to the model settings.
References